pressure transducer connection Chinese good company
How to Connect a Pressure Transducer: A Step-by-Step Guide
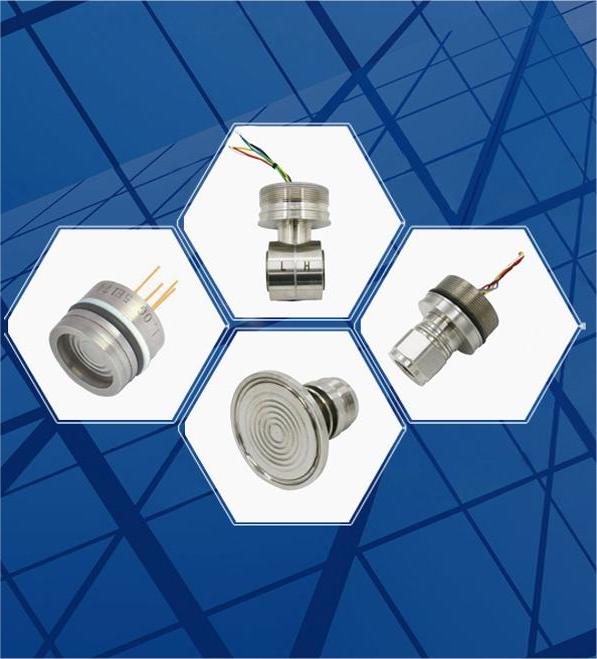
Pressure transducers are essential devices used in various industries to measure and monitor pressure levels. These devices are commonly used in applications such as automotive, aerospace, and manufacturing. Connecting a pressure transducer correctly is crucial to ensure accurate readings and reliable performance. In this step-by-step guide, we will walk you through the process of connecting a pressure transducer.
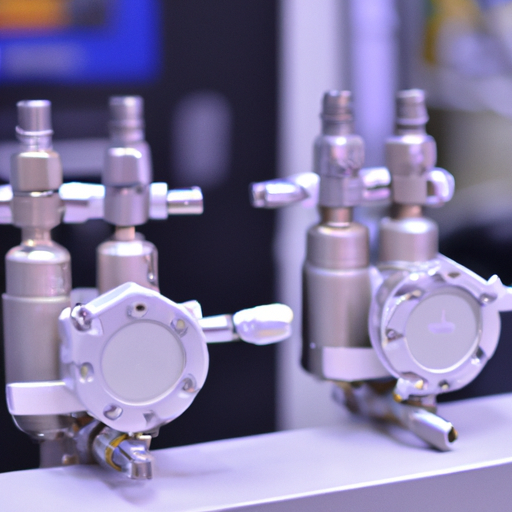
The first step in connecting a pressure transducer is to gather all the necessary tools and equipment. You will need a pressure transducer, a power supply, a signal conditioner, and appropriate cables and connectors. It is important to ensure that all the components are compatible with each other and meet the required specifications.
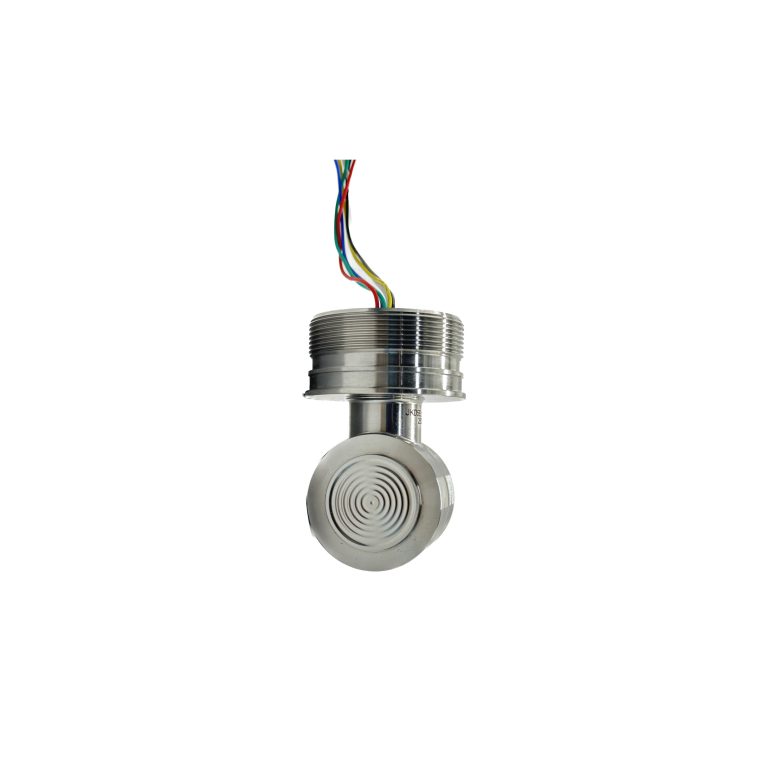
Measuring medium
Gases, vapours, liquids
Inaccuracy
±0.075%
stability
±0.1%/3 years
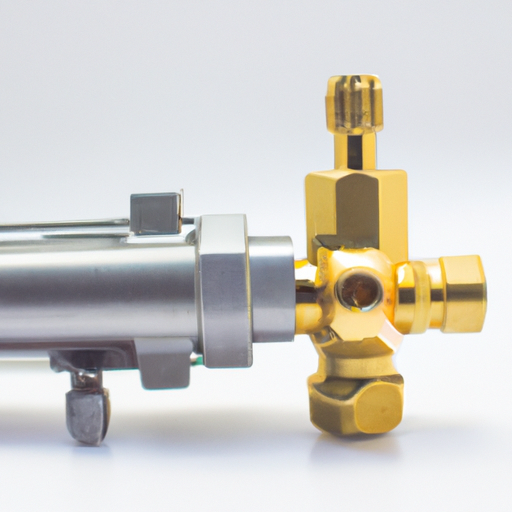
Once you have gathered all the necessary tools and equipment, the next step is to identify the pressure port on the transducer. This is where the pressure will be applied, and it is usually indicated by a small hole or a threaded connection. Make sure to clean the pressure port thoroughly to remove any dirt or debris that may affect the accuracy of the readings.
After cleaning the pressure port, the next step is to connect the pressure transducer to the power supply. Most pressure transducers require a power supply to operate, and it is important to provide the correct voltage and current. Refer to the manufacturer’s instructions or specifications to determine the appropriate power supply requirements for your specific pressure transducer.
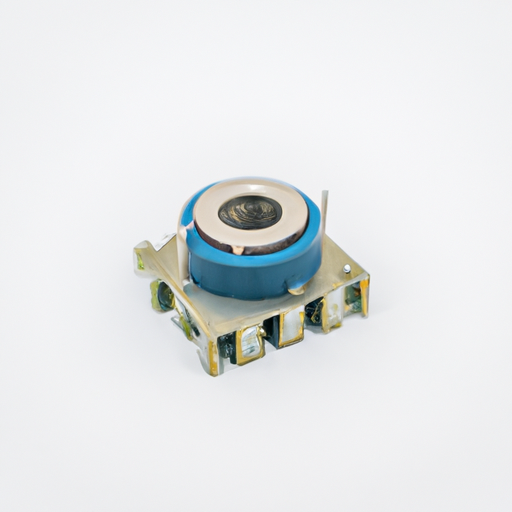
Once the power supply is connected, the next step is to connect the signal conditioner. The signal conditioner is responsible for amplifying and conditioning the signal from the pressure transducer, making it suitable for further processing or display. Connect the output of the pressure transducer to the input of the signal conditioner using the appropriate cables and connectors.
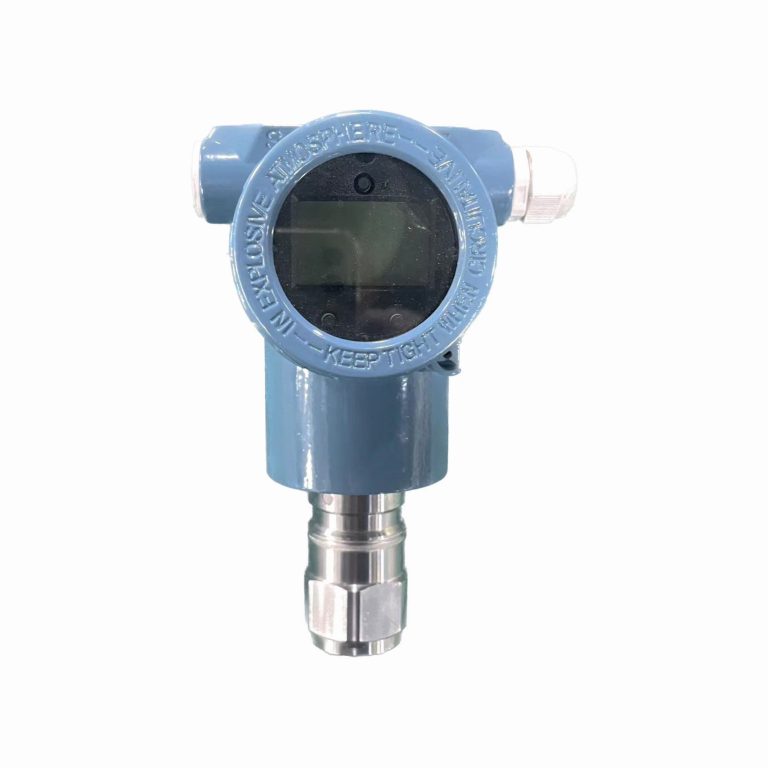
After connecting the signal conditioner, the next step is to connect the output of the signal conditioner to the desired display or data acquisition system. This can be a computer, a data logger, or any other device capable of receiving and processing the signal from the pressure transducer. Again, refer to the manufacturer’s instructions or specifications to determine the appropriate cables and connectors for your specific setup.
Once all the connections are made, it is important to double-check and ensure that everything is properly secured and tightened. Loose connections can lead to inaccurate readings or even damage to the equipment. Take the time to inspect each connection and make any necessary adjustments or corrections.
Finally, before applying any pressure to the transducer, it is recommended to perform a calibration or zeroing procedure. This will ensure that the pressure transducer is accurately calibrated and ready for use. Follow the manufacturer’s instructions or consult a professional to perform the calibration procedure correctly.
In conclusion, connecting a pressure transducer requires careful attention to detail and adherence to the manufacturer’s instructions. By following this step-by-step guide, you can ensure that your pressure transducer is connected correctly and ready to provide accurate and reliable pressure measurements. Remember to gather all the necessary tools and equipment, clean the pressure port, connect the power supply and signal conditioner, and double-check all the connections before applying any pressure. With proper installation and calibration, your pressure transducer will serve you well in your applications.
The Importance of Pressure Transducer Connection in China’s High-Grade Companies Pressure transducers are essential components in many industries, including China’s high-grade companies. These devices are used to measure and monitor pressure levels in various systems, providing crucial data for efficient operation and maintenance. However, the connection of pressure transducers is often overlooked, despite its significant…
Using Differential Pressure Sensors in Industrial Automation Applications Differential pressure sensors are a crucial component in industrial automation applications, providing accurate and reliable measurements of pressure differences in various systems. These sensors play a vital role in ensuring the efficiency and safety of industrial processes, making them an essential tool for many industries. One of…
How to Choose the Right Pressure Transmitter Manufacturer Wholesaler for Your Business When it comes to choosing the right pressure transmitter manufacturer wholesaler for your business, it is important to consider a few key factors. First, you should look for a manufacturer that has a proven track record of producing reliable and accurate pressure transmitters….
Benefits of Using a Pressure Transmitter Connection Supplier for Industrial Applications In industrial applications, pressure transmitters play a crucial role in monitoring and controlling pressure levels in various processes. These devices are essential for ensuring the safety and efficiency of operations in industries such as oil and gas, chemical processing, and manufacturing. To ensure the…
How to Find the Best Economical Pressure Transmitter Wholesaler for Your Business Finding the best economical pressure transmitter wholesaler for your business can be a daunting task. With so many options available, it can be difficult to know which one is the best fit for your needs. Fortunately, there are a few key steps you…
How to Choose the Right Pressure Transmitter Supplier Manufacturer for Your Needs When it comes to selecting the right pressure transmitter supplier manufacturer for your needs, it is important to consider a few key factors. First, you should assess the quality of the products offered by the supplier. Make sure to research the supplier’s reputation…