How to Install a Pressure Transmitter in a Chinese Factory: A Step-by-Step Guide
Installing a pressure transmitter in a Chinese factory can seem like a daunting task, but with the right steps, it can be done quickly and easily. Here’s a step-by-step guide to help you get the job done.
Step 1: Gather the Necessary Materials
Before you start, make sure you have all the necessary materials. This includes the pressure transmitter, a power source, a mounting bracket, and any other necessary tools.
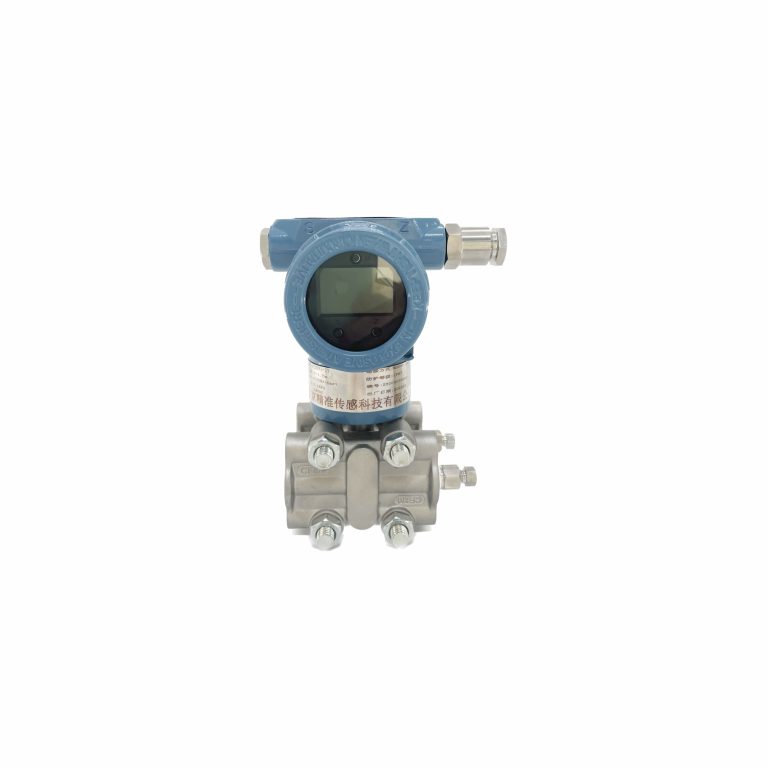
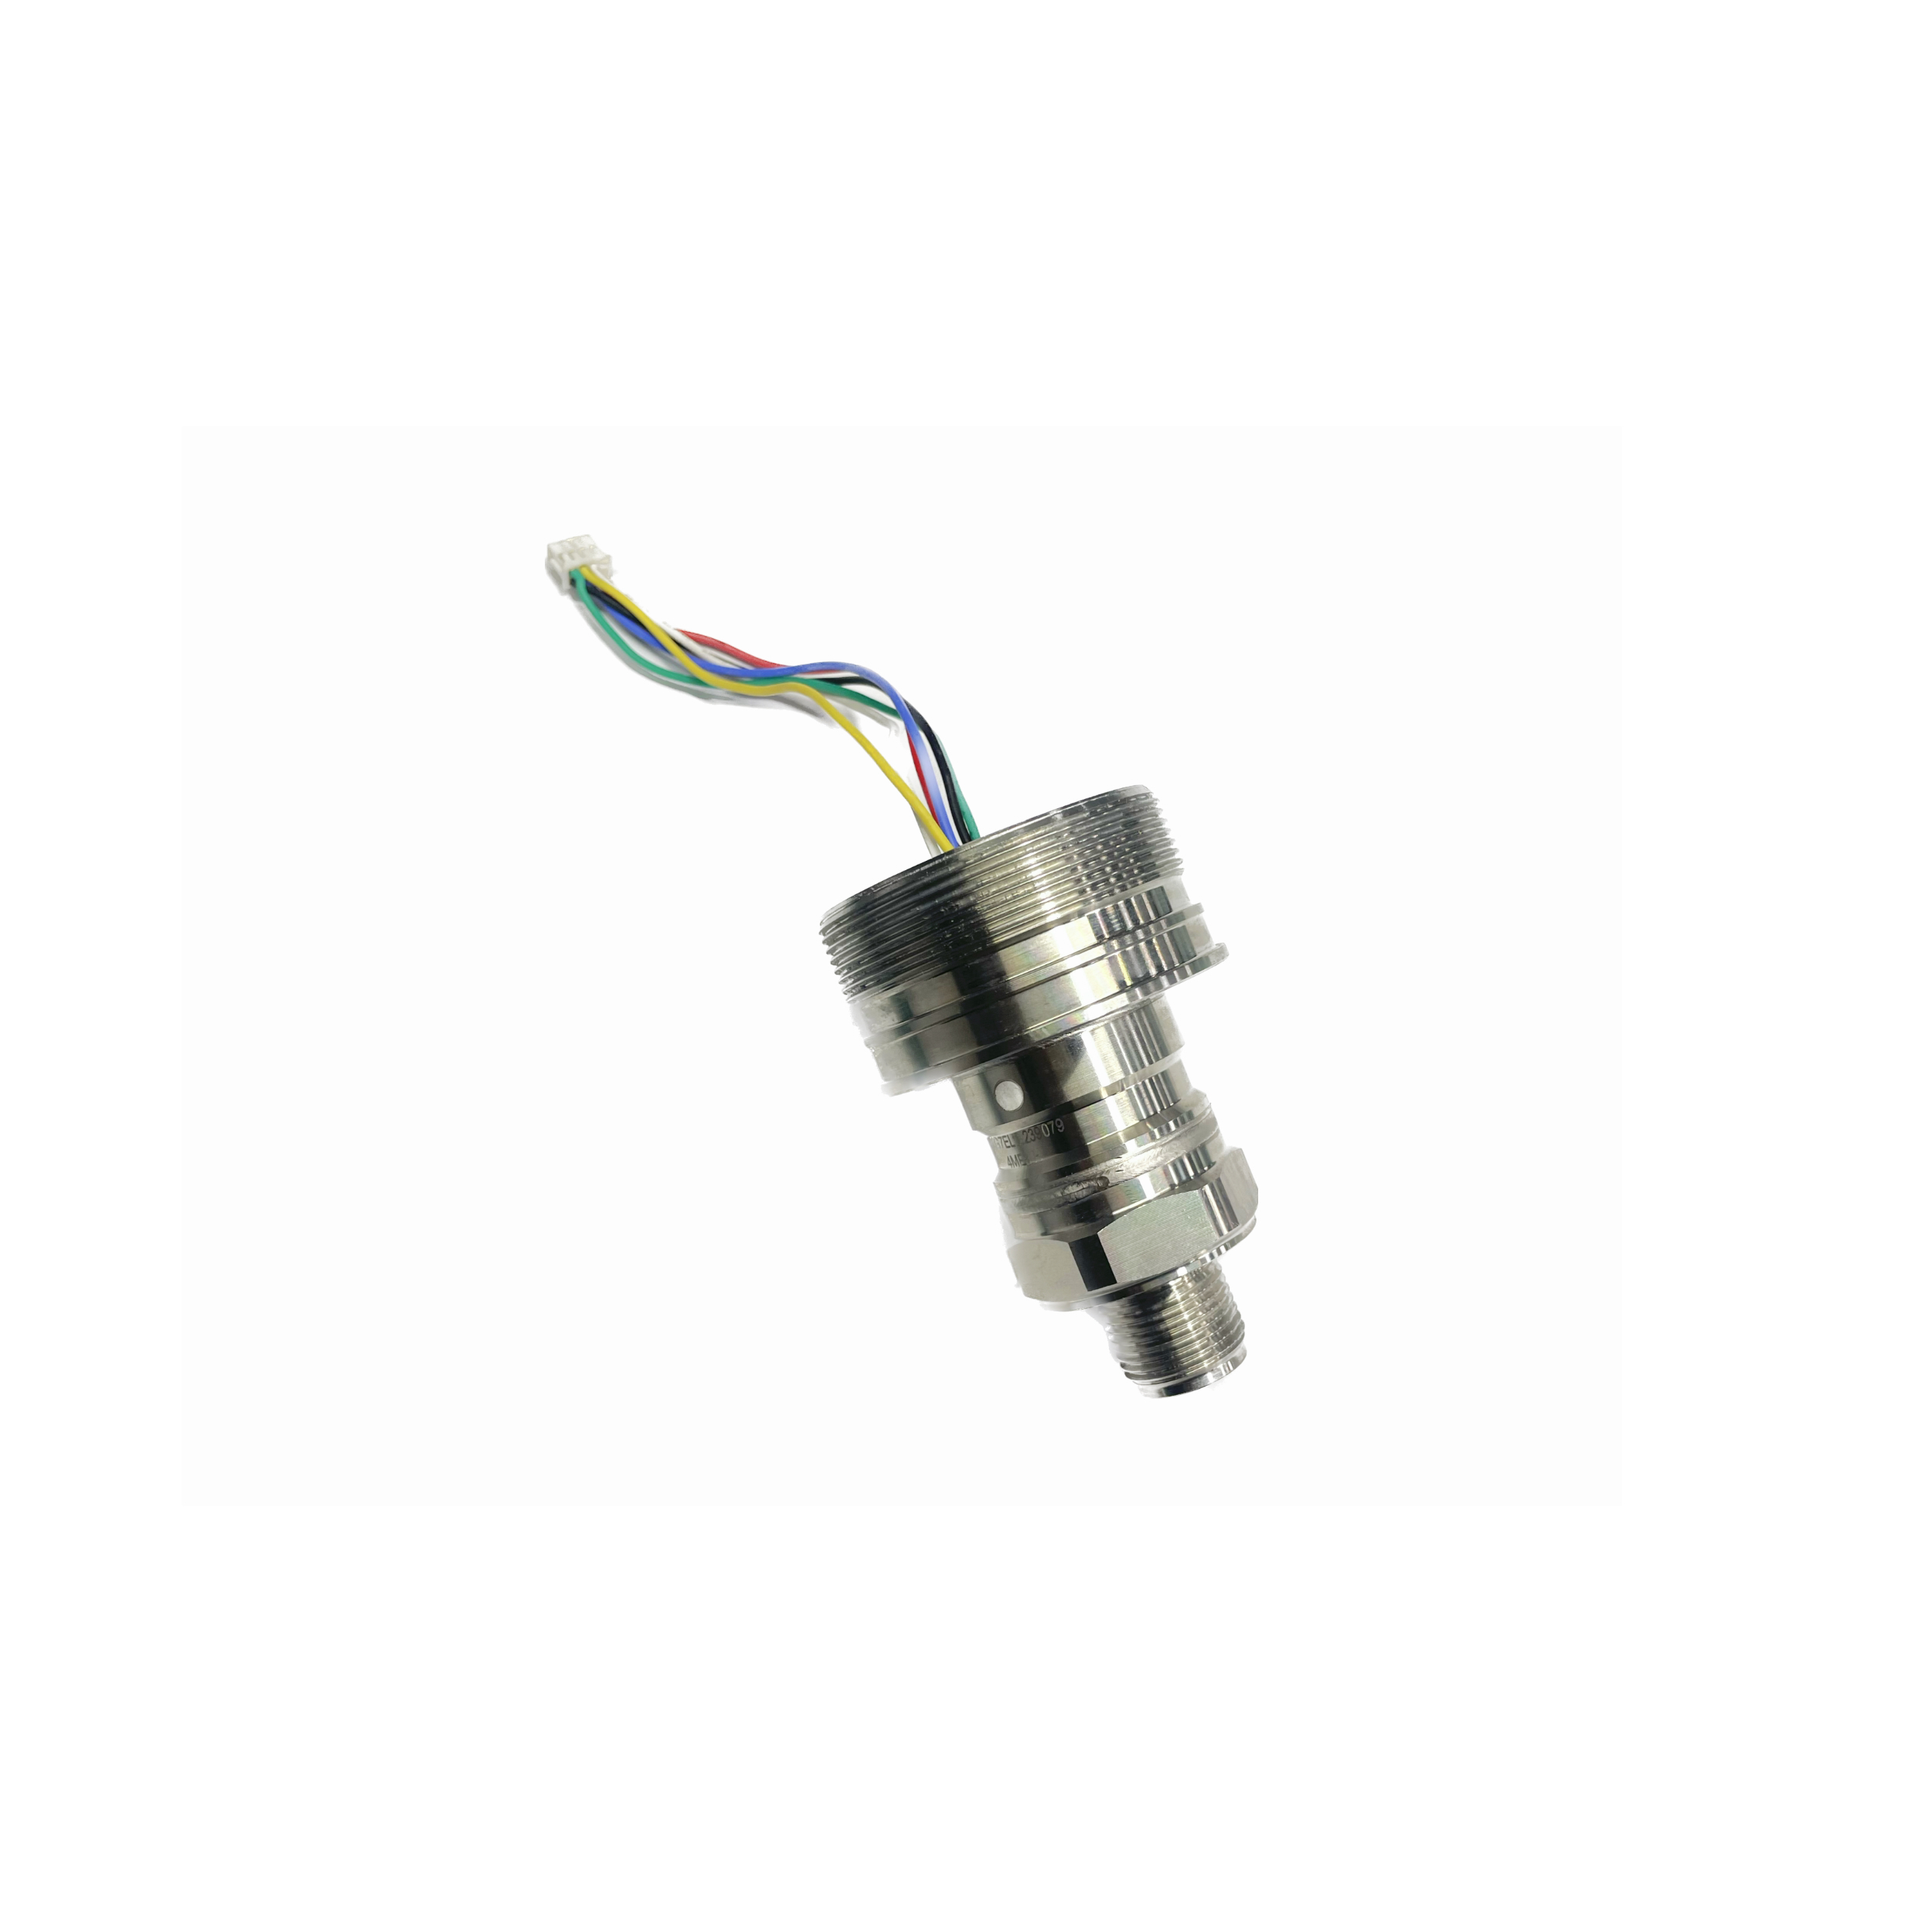
Step 2: Mount the Transmitter
Once you have all the materials, it’s time to mount the transmitter. Start by attaching the mounting bracket to the wall or other surface where you want to install the transmitter. Then, attach the transmitter to the bracket.
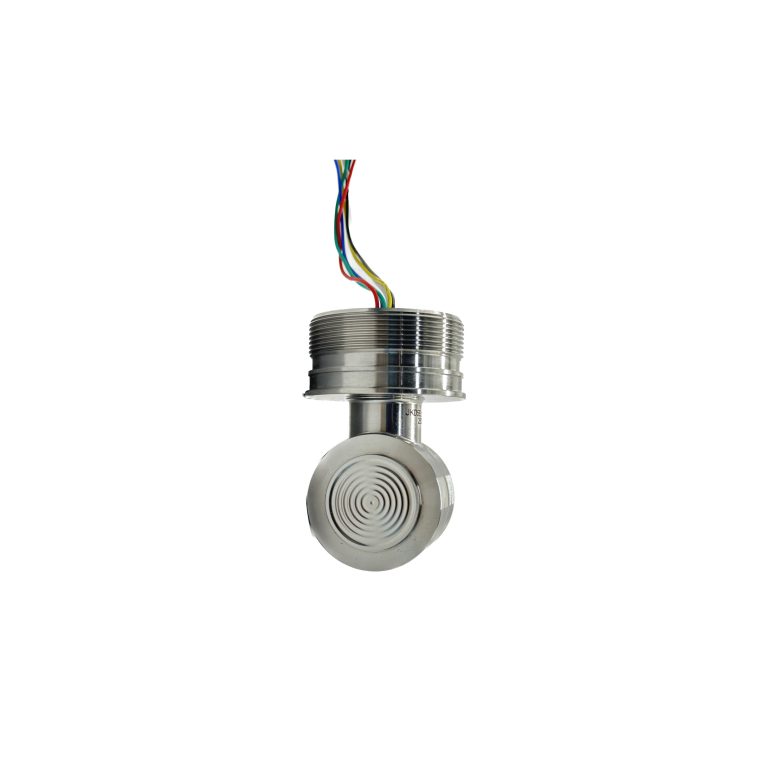
Measuring medium
Gases, vapours, liquids
Inaccuracy
±0.075%
stability
±0.1%/3 years
Step 3: Connect the Power Source
Next, connect the power source to the transmitter. Depending on the type of transmitter you’re using, this could be a battery or a power cord. Make sure the power source is securely connected.
Step 4: Test the Transmitter
Once the power source is connected, it’s time to test the transmitter. Turn on the power and make sure the transmitter is working properly. If everything looks good, you’re ready to move on to the next step.
Step 5: Install the Software
Finally, install the software that comes with the transmitter. This will allow you to monitor and adjust the pressure readings from the transmitter. Once the software is installed, you’re all set!
Installing a pressure transmitter in a Chinese factory may seem like a daunting task, but with the right steps, it can be done quickly and easily. Follow this step-by-step guide and you’ll have your pressure transmitter up and running in no time.

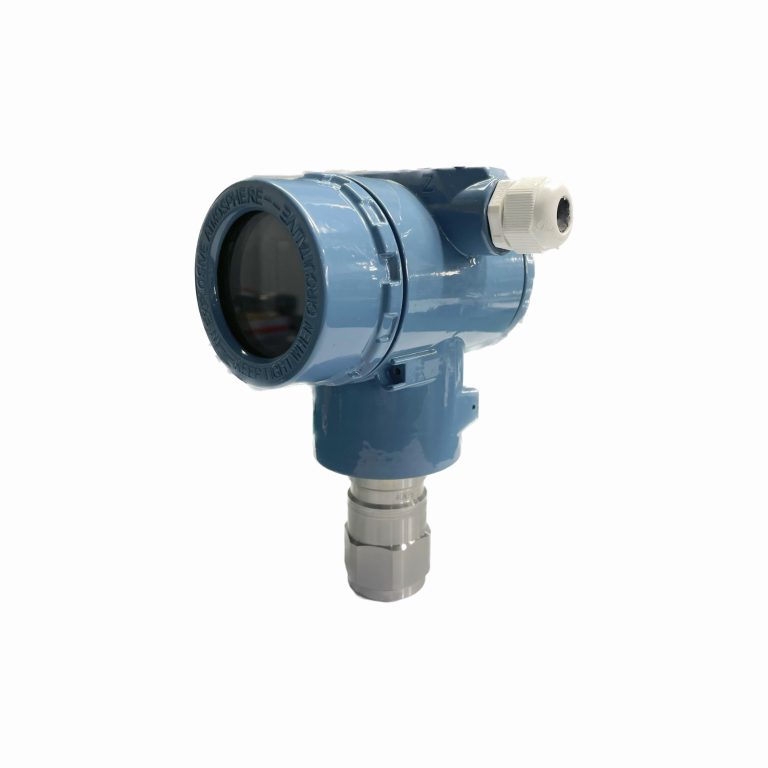
 Step 2: Mount the Transmitter
Once you have all the materials, it’s time to mount the transmitter. Start by attaching the mounting bracket to the wall or other surface where you want to install the transmitter. Then, attach the transmitter to the bracket.
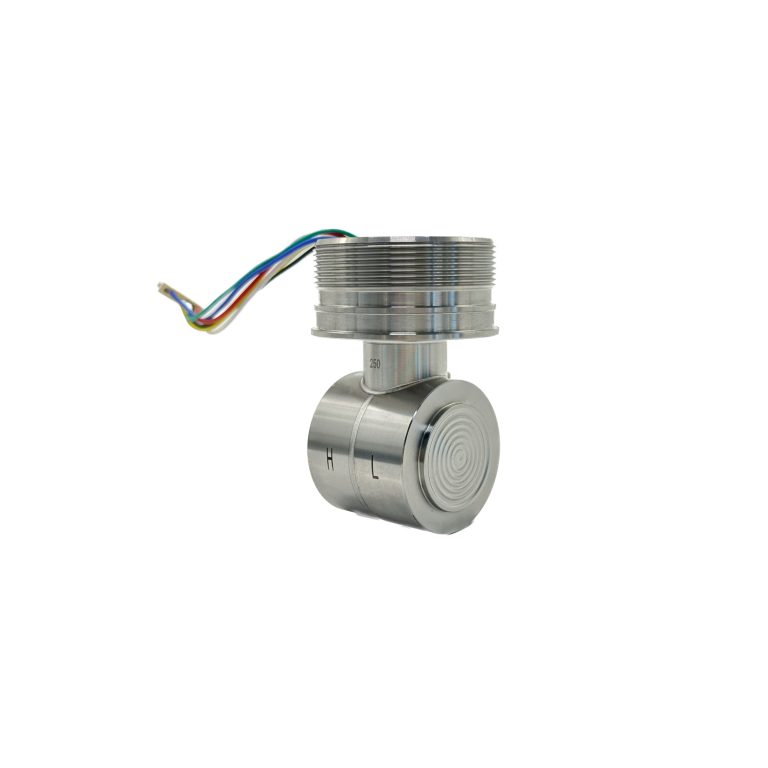
Step 2: Mount the Transmitter
Once you have all the materials, it’s time to mount the transmitter. Start by attaching the mounting bracket to the wall or other surface where you want to install the transmitter. Then, attach the transmitter to the bracket.